Quickstart: build your first automation
This quickstart builds a complete FastHook workflow. You will choose an event, add an Action, map data into it, activate the workflow, and verify the first run.
What you will build
The workflow has two visible parts:
App event or webhook → Trigger → ActionFor example, the trigger could be a new Google Sheets row or an incoming webhook, and the Action could send a Slack or Telegram message. The exact apps do not matter for this walkthrough.
Before you begin
You need a FastHook account and permission to connect the apps used by your trigger and Action. If you do not want to connect a provider yet, use a generic Webhook Source as the trigger.
1. Open the Workflow builder
Open Workflow in the FastHook dashboard and select New Workflow.
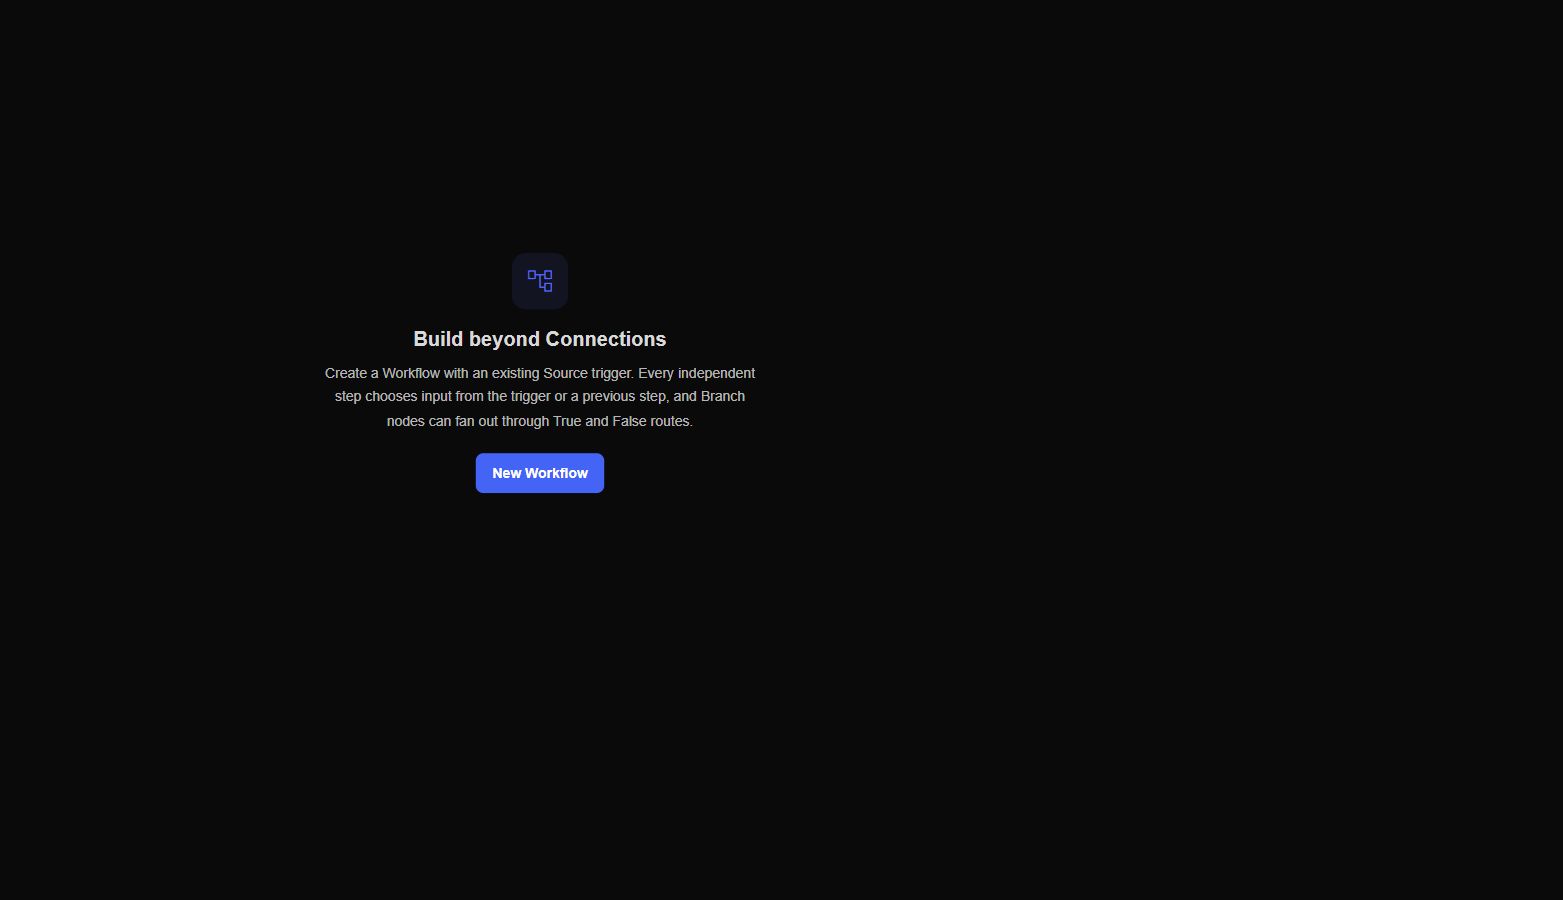
The empty state is the starting point for creating your first automation.
Give the workflow a name that describes the result, such as Notify the team about new orders. Workflow names are operational labels, so prefer a specific outcome over a generic name such as Test.
2. Choose or create the trigger
Every Workflow starts from one Source. In the new Workflow dialog, select an existing Source or create a new one without leaving the builder.
- Choose a provider Source when an app event should start the workflow.
- Choose a Webhook Source when your application or an unsupported provider will send an HTTP request.
- Complete the connected-account or credential flow when the provider requires it.
The selected Source becomes the workflow trigger. A new event from that Source can create a Workflow run after the workflow is active.
3. Add the first Action
Select Add first step or Add step, then choose Action.
- Select the app and Action operation.
- Choose or connect the account that FastHook should use.
- Fill the required target fields, such as a channel, spreadsheet, recipient, repository, or record type.
- Keep optional advanced fields at their defaults for the first run.
You can also choose a Destination step when you want to deliver the event to a configured HTTP or transport Destination instead of calling a provider Action.
4. Map trigger data
Use the data picker beside an Action field to select a value from the Trigger. FastHook stores the mapping, not just the preview value.
For a message field, combine text and dynamic data if needed. A mapping may look like this:
New order from {{trigger.customer.name}}: {{trigger.total}}The picker only exposes data that is available at that point in the graph. A later step can also read outputs from its earlier steps.
5. Activate the Workflow
FastHook saves graph edits as you work. Select Activate if the status is Draft or Paused.
Only an active Workflow processes new events from its Source. Activation applies to future events; it does not manufacture a trigger event.
6. Produce a real trigger event
Perform the event in the source app, or send a request to the Webhook Source URL. Then return to the workflow.
If the workflow is active and the Source accepts the event, FastHook creates a run and executes each eligible step in graph order.
7. Verify the run
Select Audit in the Workflow builder and open the latest run.
Confirm that:
- The run status is Succeeded.
- The trigger preview contains the expected event.
- The Action step received the expected mapped input.
- The Action output or response confirms the provider accepted the operation.
- The change is visible in the destination app.
If the run failed, start with the first failed step. Check its error code, message, response status, input, and account permissions before editing the whole workflow.
Next steps
- Learn the complete Workflow lifecycle.
- Understand Triggers and Actions.
- Map values from multiple steps with Data mapping.
- Add Paths and conditions.
- Troubleshoot with Runs and errors.